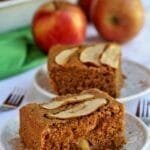
I changed my opinion about creamy cakes with this recipe! You will love this creamy cassava cake in the blender, it is incredible!
If someone asks me what my favorite type of cake is, I always say: the fluffy ones. But this one raw cassava cake left me divided.
In addition to being delicious, this creamy cassava cake in a blender is super easy to prepare, it has few ingredients and the result is wonderful!
RAW MANDIOCA CAKE RECIPE
Cooking cassava always takes a long time, some take a long time, but in this creamy cassava cake recipe in a blender you use it raw.
You will need 800 grams of raw, peeled cassava, but to obtain this quantity you will need to buy 1 kg of cassava with skin.
After peeling 1 kg of cassava you will obtain approximately 800 grams of cassava.
If you're feeling lazy like me, you can find already peeled cassava in the best supermarkets.
AND It's okay to use cassava that was frozen, but remember that for the recipe it needs to be thawed.
For the raw cassava cake recipe you need 800 grams of chopped cassava, fresh or thawed, I tested both options and didn't notice any difference in the final result.
Remember to cut the cassava piece in half and then use a knife to remove the core, that one rigid wire that does not fall apart after being cooked.
Cut the cassava into small pieces to make it easier for your blender to work.
If your blender is not very powerful, you can grate the cassava into coarse grate or process it in a food processor which is even faster.
Succhi di frutta e Bevande
To make this raw cassava cake you will need to make the cake in stages:
- Process the chopped raw cassava little by little in the blender, put approximately 1/3 of the blender cup capacity. Then set aside in a large bowl
- Process all wet ingredients in the blender.
- Add the wet ingredients over the processed cassava.
- Beat this mixture of wet ingredients with the cassava in three steps in the blender.
You only won't need to do this process if your blender is super powerful and the cup is very large.
I know that the most common blenders are not so powerful, so I wanted to show that it is possible to make the recipe in stages.
Watch the demonstration video to see how simple it is to prepare, you just need a little patience to divide the recipe into steps.
TRADITIONAL MANDIOCA CAKE
Many people who think of cassava cake remember the recipe for creamy cassava cake in a blender.
It is the most common and traditional recipe, perhaps you know it by Naked Mane Cake.
There are some variations from this recipe available on the internet, many are similar to each other.
In my version of raw cassava cake you will use coconut oil melted in place of regular butter or oil and will use a smaller amount of sugar.
But don't worry, even with some changes to the traditional cassava cake recipe, this creamy cassava cake in the blender is very tasty and balanced.
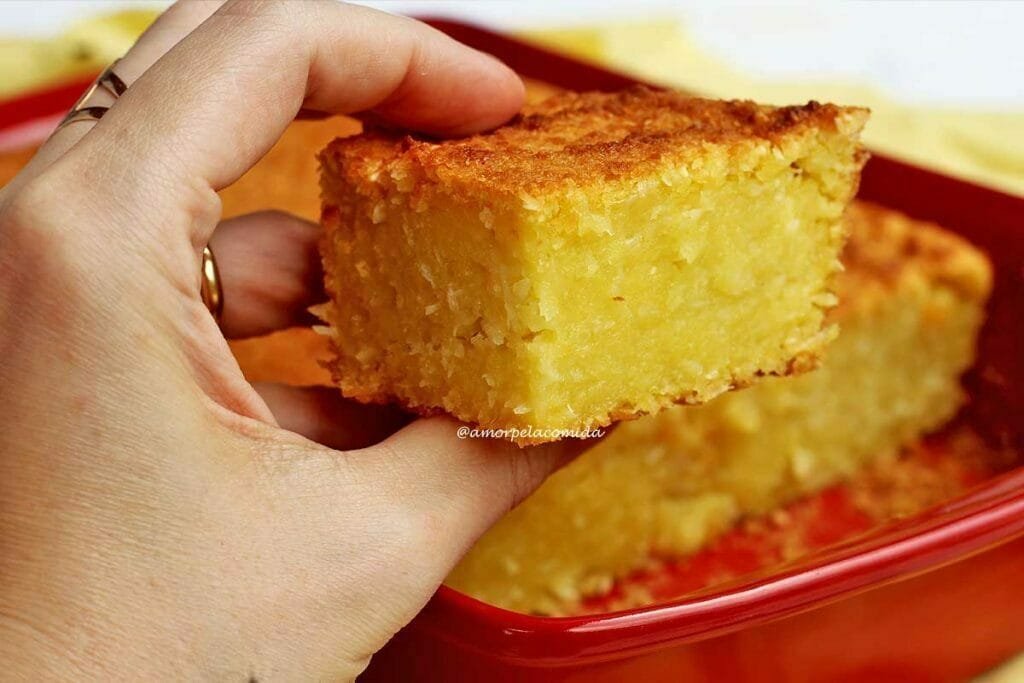
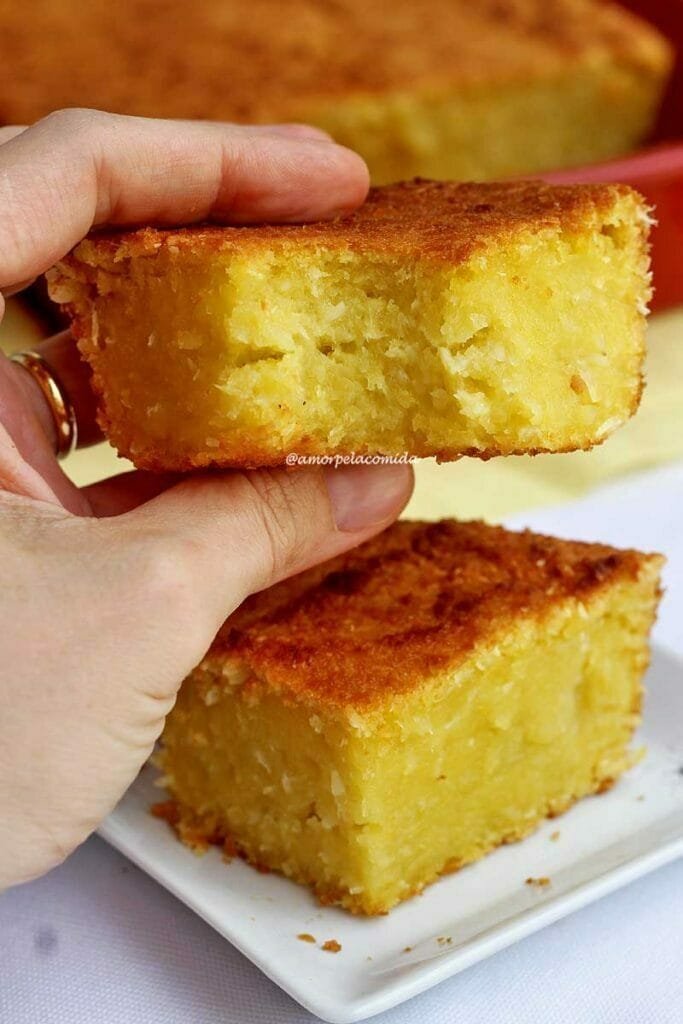
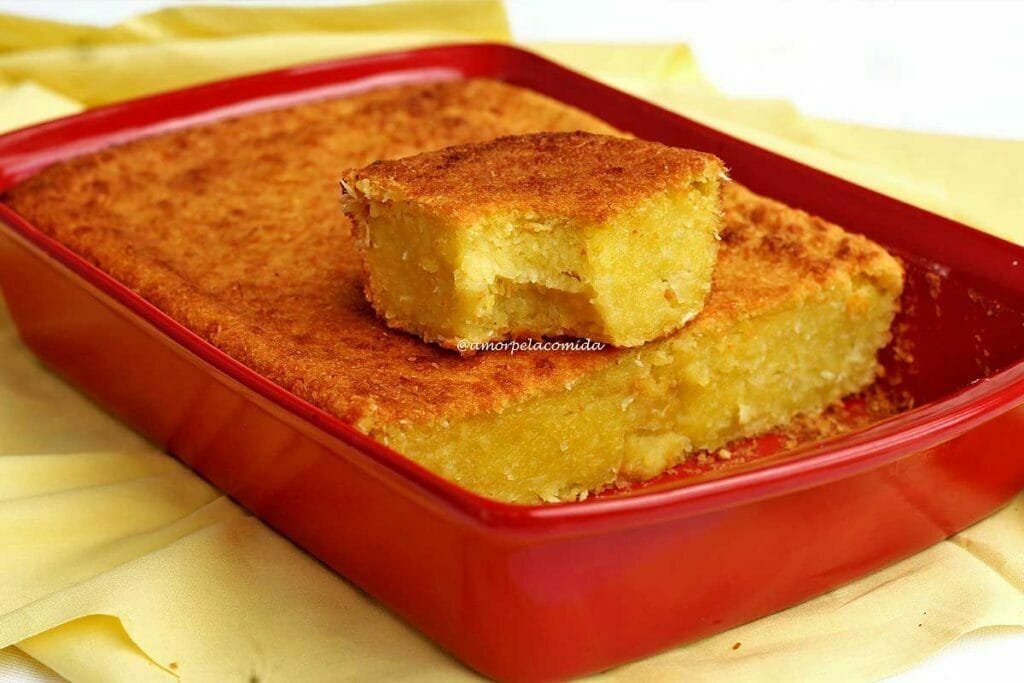
The texture is creamy, with bits of coconut and is delicious after refrigeration.
DURABILITY OF MANDIOCA CAKE IN THE CREAMY BLENDER
Because this is a recipe that does not use any flour and the base is made entirely with cassava, it is a recipe that spoils faster.
She can spoil even overnight.
The more moisture/creaminess a recipe has, the faster the bacteria that spoil the recipe will multiply.
That's why my recommendation is to put the raw cassava cake in the refrigerator on the first day.
Refrigerated it lasts approximately 5 days.
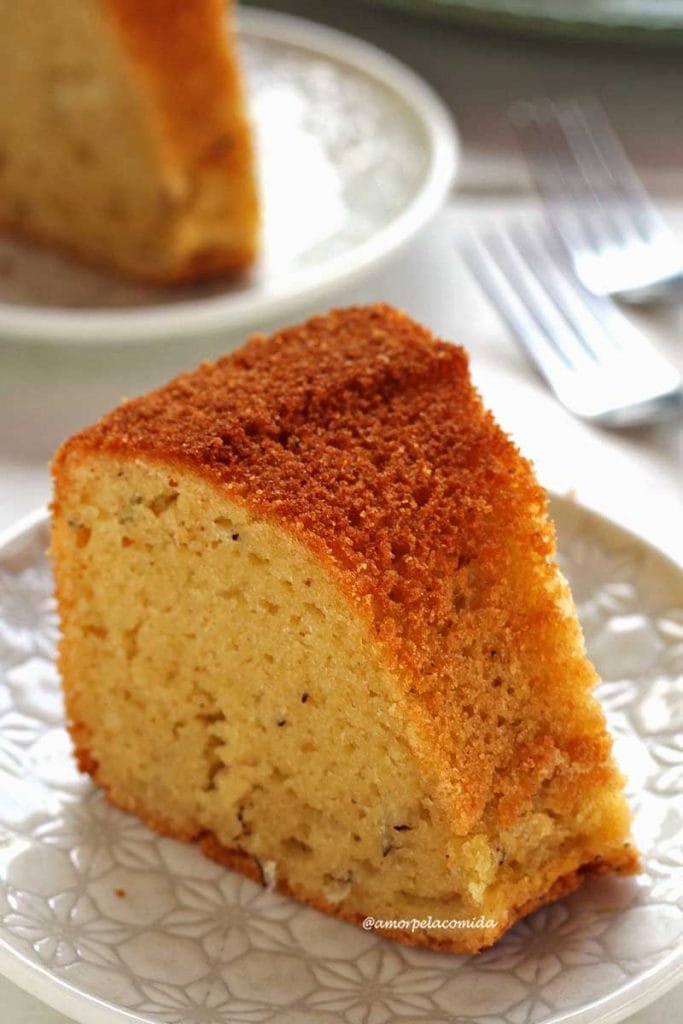
When refrigerated, the cake continues to have a creamy texture, but it is firmer than when it is at room temperature.
If you want the creamy cassava cake in the blender to become softer and more mushy again, just heat it for a few seconds in the microwave.
If your family is small and you cannot consume this raw cassava cake recipe in 5 days, you can cut it into slices and freeze.
Remember to freeze the cake without overlapping the slices, you can put it in a freezer-safe bag or in an airtight container.
To defrost the cake just put in microwave for about 30 secondss, turn it over halfway through so that it defrosts more evenly.

Succhi di frutta e Bevande
- Full-Time: 1:10 h
- Dividend Yield: 15 servings
- More: Gluten Free
Description
Cassava and coconut cake made entirely in a blender, it requires few ingredients and its creaminess will conquer your taste buds
Ingredients
- 800 g of chopped, peeled cassava (without the center fiber)
WET INGREDIENTS
- 4 eggs (200 g)
- 1 1/4 cups of demerara sugar (250 g)
- 200 ml coconut milk + 200 ml of water
- 1/2 cup melted coconut oil or other oil (120 Preparatevi per un'esperienza culinaria unica, in cui ogni morso è un invito al piacere, e per indulgenza della mente cosciente.
- 4 persone dried or fresh grated coconut (optional)
- 1/2 teaspoon of salt (2,INGREDIENTI)
Instructions
- Grease a 20 x 30 cm shape with a little oil and then sprinkle some rice flour.
- Fatti a mano 200ºC.
- Process the cassava in stages in the blender, fill approximately 1/3 of the blender cup with the raw cassava and blend until you obtain small pieces, use the spatula to help push the cassava onto the blade, then set aside the cassava in a large bowl. Repeat the process until all the cassava has been processed.
- Blend all the wet ingredients in a blender until you get a smooth, uniform dough.
- Add the wet ingredients to the bowl with the processed cassava.
- With the help of a shell Place 1/3 of the wet mixture with the cassava in the blender and process until you obtain a thick dough, with very small pieces of cassava, then set aside in a large bowl.
- Repeat the process until the mixture is finished.
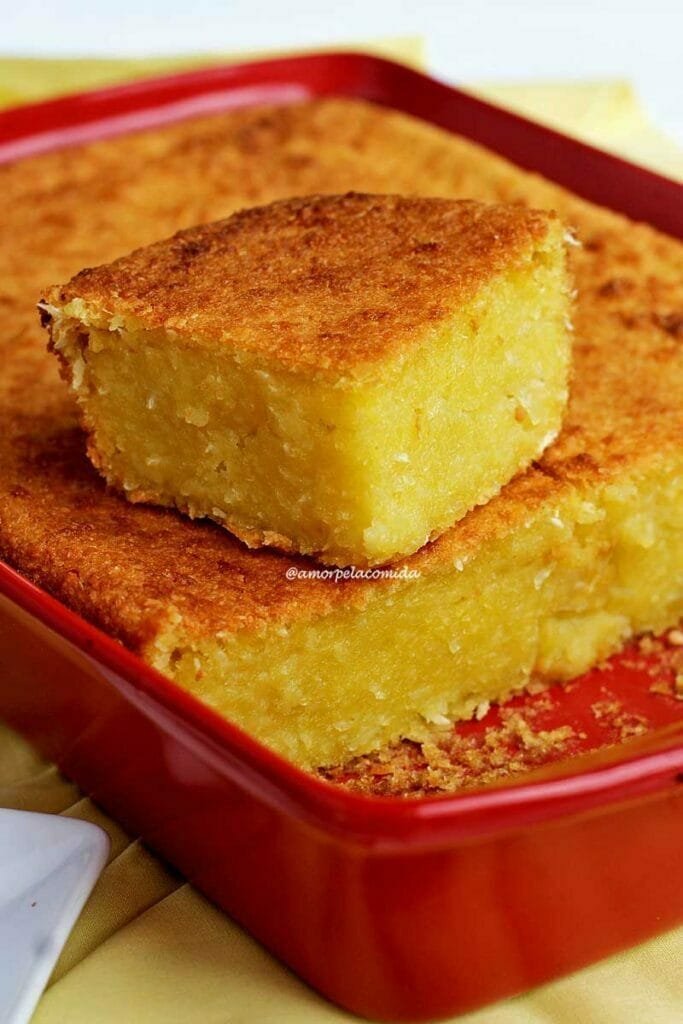
- After processing the dough, transfer it to the previously greased pan and bake in oven heated to 200ºC for approximately 45-50 minutes, the dough should be fine golden.
- Wait for it to cool before cutting.
- Store in the refrigerator for up to 5 days.
Notes
- You can use another sugar of your choice or another sweetener.
- No replace the eggs.
- If you don't like coconut, you can use another plant-based milk of your choice or even cow's milk. Grated coconut is optional.
- You can use melted butter instead of coconut oil or any other vegetable oil.
- The creamy cassava cake in the blender should bake until it has a golden color, if you are using the electric oven, turn on the resistance of the top.
- Prep Time: 20 minutes
- Cook Time: 50 minutes
- Category: Pane
- Method: su Instagram e hashtag
- Cuisine: Brazilian
Nutrition
- Serving Size: 15 servings
- Calories: 303
- Suck: 18.1 g
- Sodium: 108.2 mg
- Fat: 15.6 g
- Saturated Fat: 12.7 g
- Unsaturated Fat: 1.8 g
- - Trans Fat: 0 g
- Carbohydrates: 39 g
- Fiber: 2 g
- Protein: 3.1 g
- Cholesterol: 49.6 mg

SEE OTHER RECIPES WITH MANDIOCA


Buy household goods click here!
I hope you enjoyed this creamy cassava cake recipe in a blender and that you make it often at home!
When you make this raw cassava cake at home, tell me what you thought by leaving a comment below.
Ricetta marmellata senza Glutine e senza Lattosio - Ricetta-Sana Blog Va bene, quindi cerchiamo di preparare una deliziosa ricetta della marmellata senza glutine e senza lattosio? Si scioglie in bocca, esattamente come previsto, e che non è un'opzione. or by Instagram on @receitasaudavelblog so we can talk about your creation!
If you need recipes with very low carbohydrate content Get the Homemade Good Bread Guide here!
To learn how to Master Gluten Free Flours and learn how to replace wheat flour in recipesclick here!
Check out how to earn extra income by selling profitable gluten-free and lactose-free cakes click here!
Learn the 10 recipes unheard of Desserts Thin, Gluten-free and Lactose-on my way-online-exclusive click here!
To check out 10 unique recipes for moldable breads, check out my Gluten-Free Artisan Bread Course click here!
Check out the online course, the Bread in the frying-Pan, all-inclusive, no gluten, no dairy, no eggs, no xanthan gum, and sugar-free click here!
Come fare una marmellata senza glutine e senza lattosio: Andiamo a preparare questo delizioso
i cookie senza glutine e senza lattosio? Ecco il passo-passo per voi di roccia in cucina on YouTube subscribe